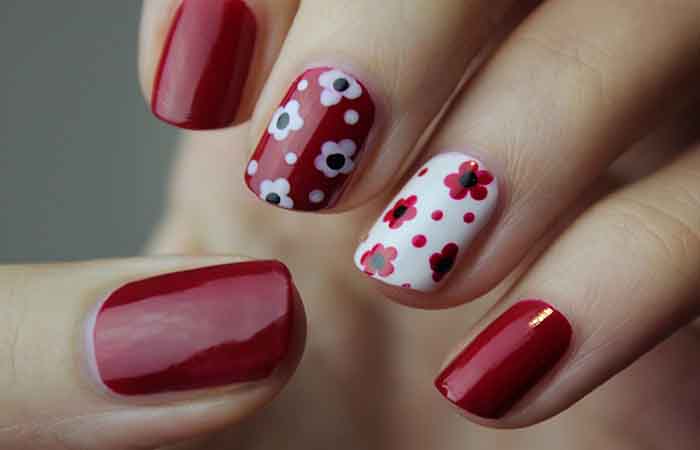
If we put a little fantasy on her nails by giving in to the temptation of nail-art? We can very well try this technique thanks to simple models. Follow the step by step of this special nail art tutorial to easily draw pretty little flowers on your nails.
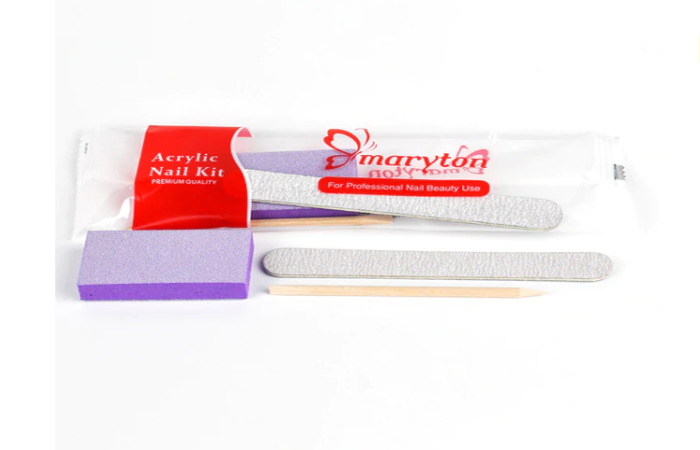
First and foremost, make sure you have the right manicure set on hand. To know :
- A base for the nails.
- 3 varnishes of different colors: one to cover the nail, one for the petals of the flowers and the last for the heart of the flower.
- 2 hairpins: one to draw the petals and the other the heart.
- A top coat.
Finally, it doesn’t take much but above all imagination to draw nice patterns on your nails. Come on, let’s follow the guide!
- Apply the nail base.
- Apply 2 coats of 60 seconds and let dry.
- With a bobby pin draw 5 dots for the petals of the flower.
- Draw the heart with a bobby pin.
- Repeat the gesture to draw flowers of different sizes.
- Apply the top coat.
Obviously, this is only an example and there are a multitude of ways to obtain an amazing result! Ready to launch? Before you start, suggest you go to our Maryton website, which has a lot of nail tools. Moreover, we’re full of inspiration with the most beautiful nail art!
Read also: Nail art: pretty nails for summer
Related Posts:
 How can nail polish turn nails yellow? Nail polish, although widely used to beautify nails, can also contribute to their yellowing. Why? In this article, the nail supply expert Maryton will explain to you how nail polish turns…
 How do you take care of your nails? It is important to take care of your nails to keep them healthy and strong. In order to take care of your nails, the nail supply expert Maryton will give you…
 How to fight soft nails? Because strong and healthy nails are a dream for each of us, Maryton has prepared a complete guide to effectively combat soft and fragile nails. These problems, which make your daily life…