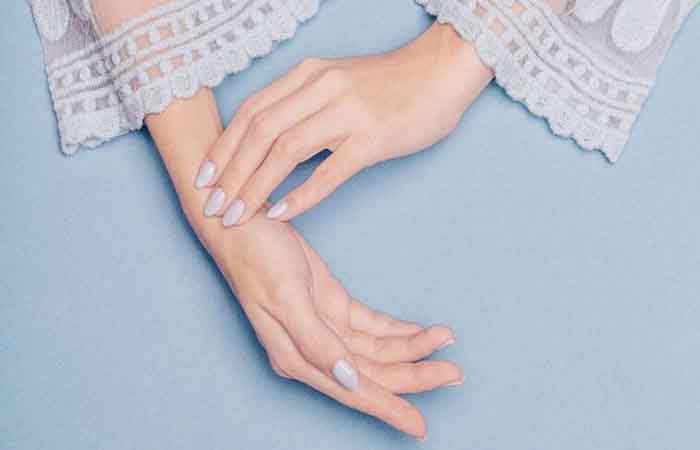
It is quite possible to make a homemade manicure. And for those who do not know exactly what it is about when we talk about manicure, a very quick definition: it is a beauty treatment to beautify the nails, but also the hands! And to help you, here is a little easy manicure tutorial in 10 steps. Just have the necessary manicure sets.
Step 1: Remove the old varnish
First of all, if you ever wore nail polish, we take it off! Pour a few drops of nail polish remover on a wipe that you leave on your nails for a few minutes, then you can slide them and remove the rest of the varnish on your nails.
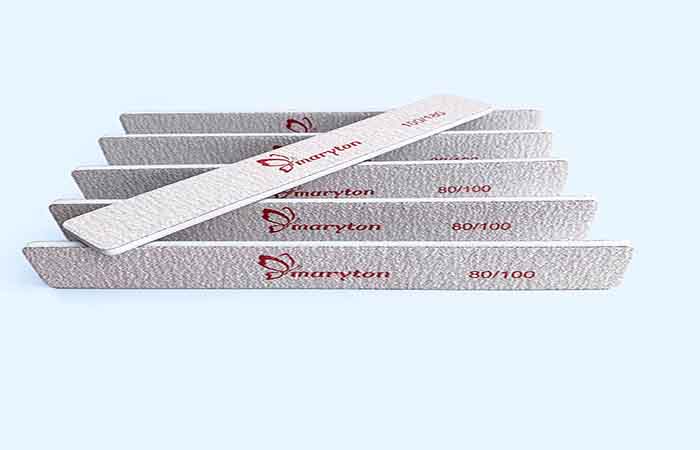
Step 2: File the nails
After washing your hands, determine the length of the nails you prefer for you. Choose a nail file and file in the same direction, without going back and forth so as not to damage the nail.
Step 3: Soften cuticles
Now it’s time to soak your fingers in warm water for 5-10 minutes. Warm water helps soften the cuticles and small skin hanging on the side of the nail. Then, use a cuticle pusher to gently push them back and peel off the small skins on the surface of the nail.
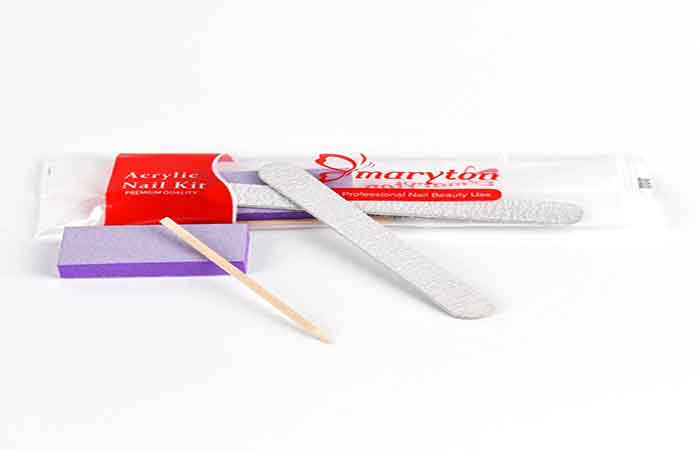
Step 4: Clean the nails
Now you can take a small wooden stick that you gently slide under each of your nails to clean them. This is mainly to remove dirt and other small dust.
Step 5: Polish the nail
Then, take a polisher and polish your nails, 10 minutes per side, to make them smoother and shiny. This also helps to activate blood circulation and facilitate the application of varnish. In addition to that, this step can help erase streaks or whiten slightly yellow nails.
Step 6: Choose your manicure
There are several types of manicures, including:
- French manicure: the color redraws the white part of the nail;
- False nails or American nails: false nails are glued, sculpted and colored over natural nails;
- the classic manicure with varnish;
- Many other models.
Step 7: Apply base
Now that you have chosen your manicure model, it is time to apply the base. Important step, because it allows both to protect the nail and that it does not discolor, and, at the same time, to make the varnish last longer.
Step 8: Apply polish
Then comes the time to apply the varnish. Depending on the varnishes, several coats are necessary. If you put more than one, first apply a first thin coat, then a second thicker one, leaving 10 minutes to dry between each coat.
Step 9: Apply a top coat
Your nail polish applied, it must then be protected. To do this, apply your top coat which allows the varnish to shine while improving its hold.
Step 10: Take care of your hands
Last step and not least: hand care. As we told you in the intro, the hands are also part of the game, because what would pretty nails be without pretty hands? So, you have to take care of your hands.
With these few tips, you are now well-honed for a successful home manicure. This article was created from the article of the famous brand of Maryton. Visit our website to discover more! Hoping that these steps have inspired you and that they will make you want to try!
Related Posts:
 How to succeed in your manicure? You have decided to treat yourself to a little manicure? In a beauty salon or at home, there are a few steps to follow to succeed. Today, we will explain how to…
 6 steps for nail polish application that lasts Are you tired of redoing your manicure every 2 days? To save you the trouble, the nail supply expert Maryton offers tips on getting a pretty manicure that lasts several days. Read on! 1. We…
 The key steps to achieving successful nail art stamping To make nail art stamping, you need a few essential items: a stamping plate with engraved designs, a special nail polish (thicker than classic nail polish), a silicone stamp, and…