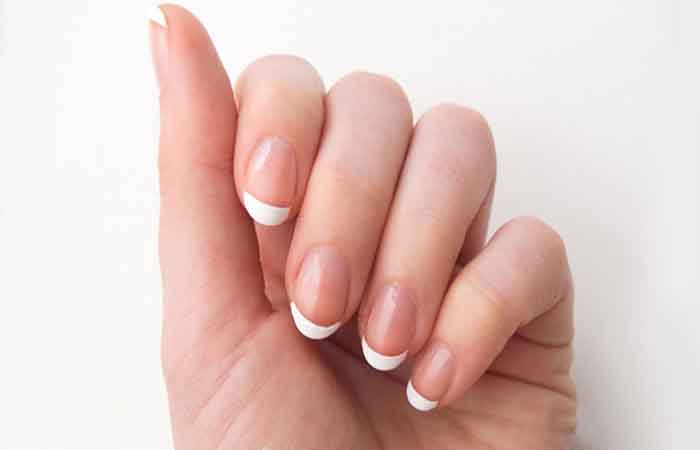
The French manicure is the eternal classic look and a beauty must-have. This type of manicure is perfect for any type of occasion. In this article, your expert nail supplier Maryton will teach you in this article how to do this trendy nail art.
How to do a French manicure?
Step 1: Prepare your nails
Your nail must be well prepared to unleash its full potential. Start by washing your hands and removing your old polish with acetone-free nail polish remover.
Step 2: Give the nails the desired shape
If you want your French manicure to look professional, medium almond or short square shapes are best for a French manicure.
Step 3: Polish the nail plate
We’re letting you in on a little secret. Lightly buffed nails help the polish hold better.
Step 4: Moisturize your hands and cuticles
Before pushing back your cuticles, soak them in cuticle and nail oil. Then wash your hands and moisturize them with a cream.
Step 5: Apply a base coat
It is important to apply a good base coat.
Step 6: Paint the tip of the nail
Using a fine brush, start from the growth points and make a line in the shape of a ‘smile’ towards the free edge of the left side then the right side. Then bring them together and make a ‘smile’ on the free edge.
Step 7: Complete your manicure with a sheer pink shade
It is this touch that gives your nails a much more natural look. A sheer pink tint helps hide blemishes or yellowing on the nails.
Step 8: Finish with a thin layer of Top Coat
To seal and set your at-home French manicure, apply a thin layer of a shiny top coat.
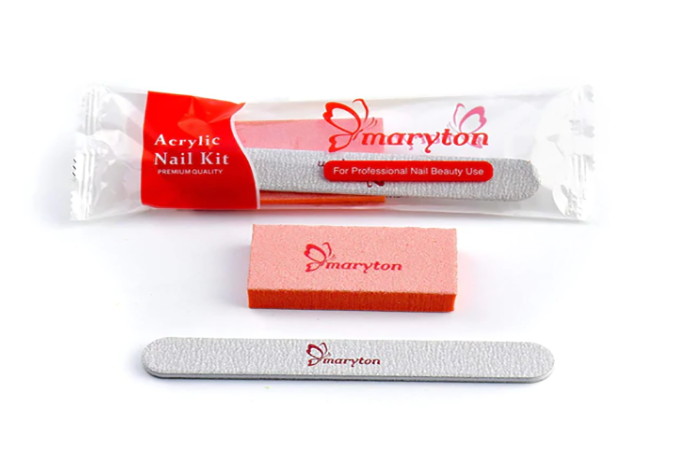
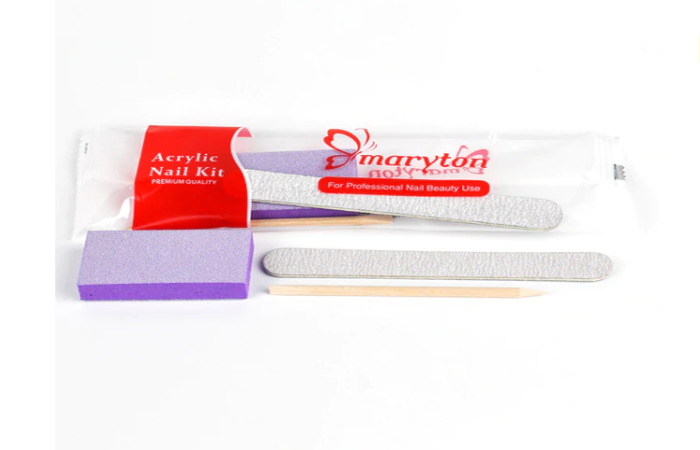
We hope you enjoy this article! In addition to these, I advise you to invest in a complete manicure supplies! To help you in your choice, I invite you to visit our website.
Read also: How to stop biting your nails?
Related Posts:
 How to make your nail shape last? Once you have found the perfect shape for your nails, the challenge is to keep them as beautiful as the first day! Today, Maryton will give you a few simple gestures and…
 How to make your nail polish last longer? During the summer months, your nails are assaulted by sand, sea and chlorine. But don't worry, nail supply expert Maryton shares some foolproof tips for preserving your manicure. Let's find out how…
 Classic varnish, gel or semi-permanent, how to make the… Do you know the difference between classic varnish, gel or semi-permanent? The nail expert Maryton takes stock to help you understand what distinguishes the different formulas, their respective advantages but also their…